
Reference Data Plugin
Introduction
Version 10.0.0 of the ChartIQ Library introduces the Reference Data plugin, enabling users to visualize financial datasets that are not price data. Each dataset has its own display style, including lines, event markers, time span events, or a combination of these.
Available Datasets
ChartIQ offers a broad range of S&P Datasets that are available out-of-the-box with minimal setup as outlined below.
See the Reference Data Datasets page for the complete list.
Before you begin
The Reference Data plugin is designed to use S&P Global data by default. This tutorial assumes you will use this data.
Important:
- You must first acquire the S&P data in your database and create your own API (web service) to enable user browsers to query the data over the internet, as neither ChartIQ nor S&P Global provides a direct web service to the contracted data. This tutorial assumes you have already completed this step.
- Contact your Account Manager to gain access to the SPGI reference data.
- For the appropriate data formats, refer to the Reference Data Formats Tutorial.
- This plugin is currently only compatible with our
technical-analysis-chart.htmlandsample-template-multichart.htmltemplates.
If you are using your own data, or data from a different source, refer to the Registering Datasets tutorial.
This plugin is currently experimental and is continuously being developed. The tutorial and API documentation will be updated and improved in future releases.
Setting up your chart template
Required Plugin
The Reference Data Plugin requires the Time Span Events plugin, even if you are not utilizing it directly.
Uncomment or add the following lines to your technical-analysis-chart.html file:
import "./plugins/timespanevent/timespanevent.js"; // @@ POST_TRADE_VISUALIZATION
Environment Setup
As mentioned earlier, you must first acquire the S&P data in your database and create your own API (web service) to enable user browsers to query the data over the internet.
Once you have set up your own API, update the API_URL variable in SPGIReferenceData.js to point to your server implementation.
const API_URL = "https://your-server.com/your-api-endpoint";
Import your reference data quote feed
Uncomment or add the following import to your template:
import SPGIReferenceData from "./examples/feeds/SPGIReferenceData.js";
Configure The Reference Data Plugin
The Reference Data plugin comes with a default plugin specific configuration inside SPGIReferenceData.js. Below is a stripped down version of it.
CIQ.ReferenceData.configure(chartConfig,{
	registry: registry, // Make sure to include your registry that contains your custom datasets (if applicable)
	quoteFeed: quoteFeed,
	attachQuoteFeed = true
});
At a minimum, the plugin configuration object should include:
registry- The registry found in
SPGIReferenceData.js(See the Registering Datasets tutorial for more information)
- The registry found in
quotefeed- The quotefeed created in
SPGIReferenceData.js(See the Registering Datasets tutorial for more information)
- The quotefeed created in
attachQuoteFeed
Important: If you include a custom dataset, ensure your updated registry contains the custom dataset. Refer to the Registering Datasets tutorial for steps on creating a custom dataset.
Activate The Reference Data Plugin
To activate the plugin, you will need to provide it with both a chart configuration and a plugin-specific configuration.
Note: Since the plugin configuration is already defined in your SPGIReferenceData.js file, you only need to provide the chart configuration object when activating the plugin within your template.
import SPGIReferenceData from "./examples/feeds/SPGIReferenceData.js";
SPGIReferenceData(chartConfig); // Activate the plugin
Conclusion
By following this tutorial, you should have been able to successfully set up the Reference Data plugin with S&P Global data, allowing you to visualize financial datasets beyond just price data.
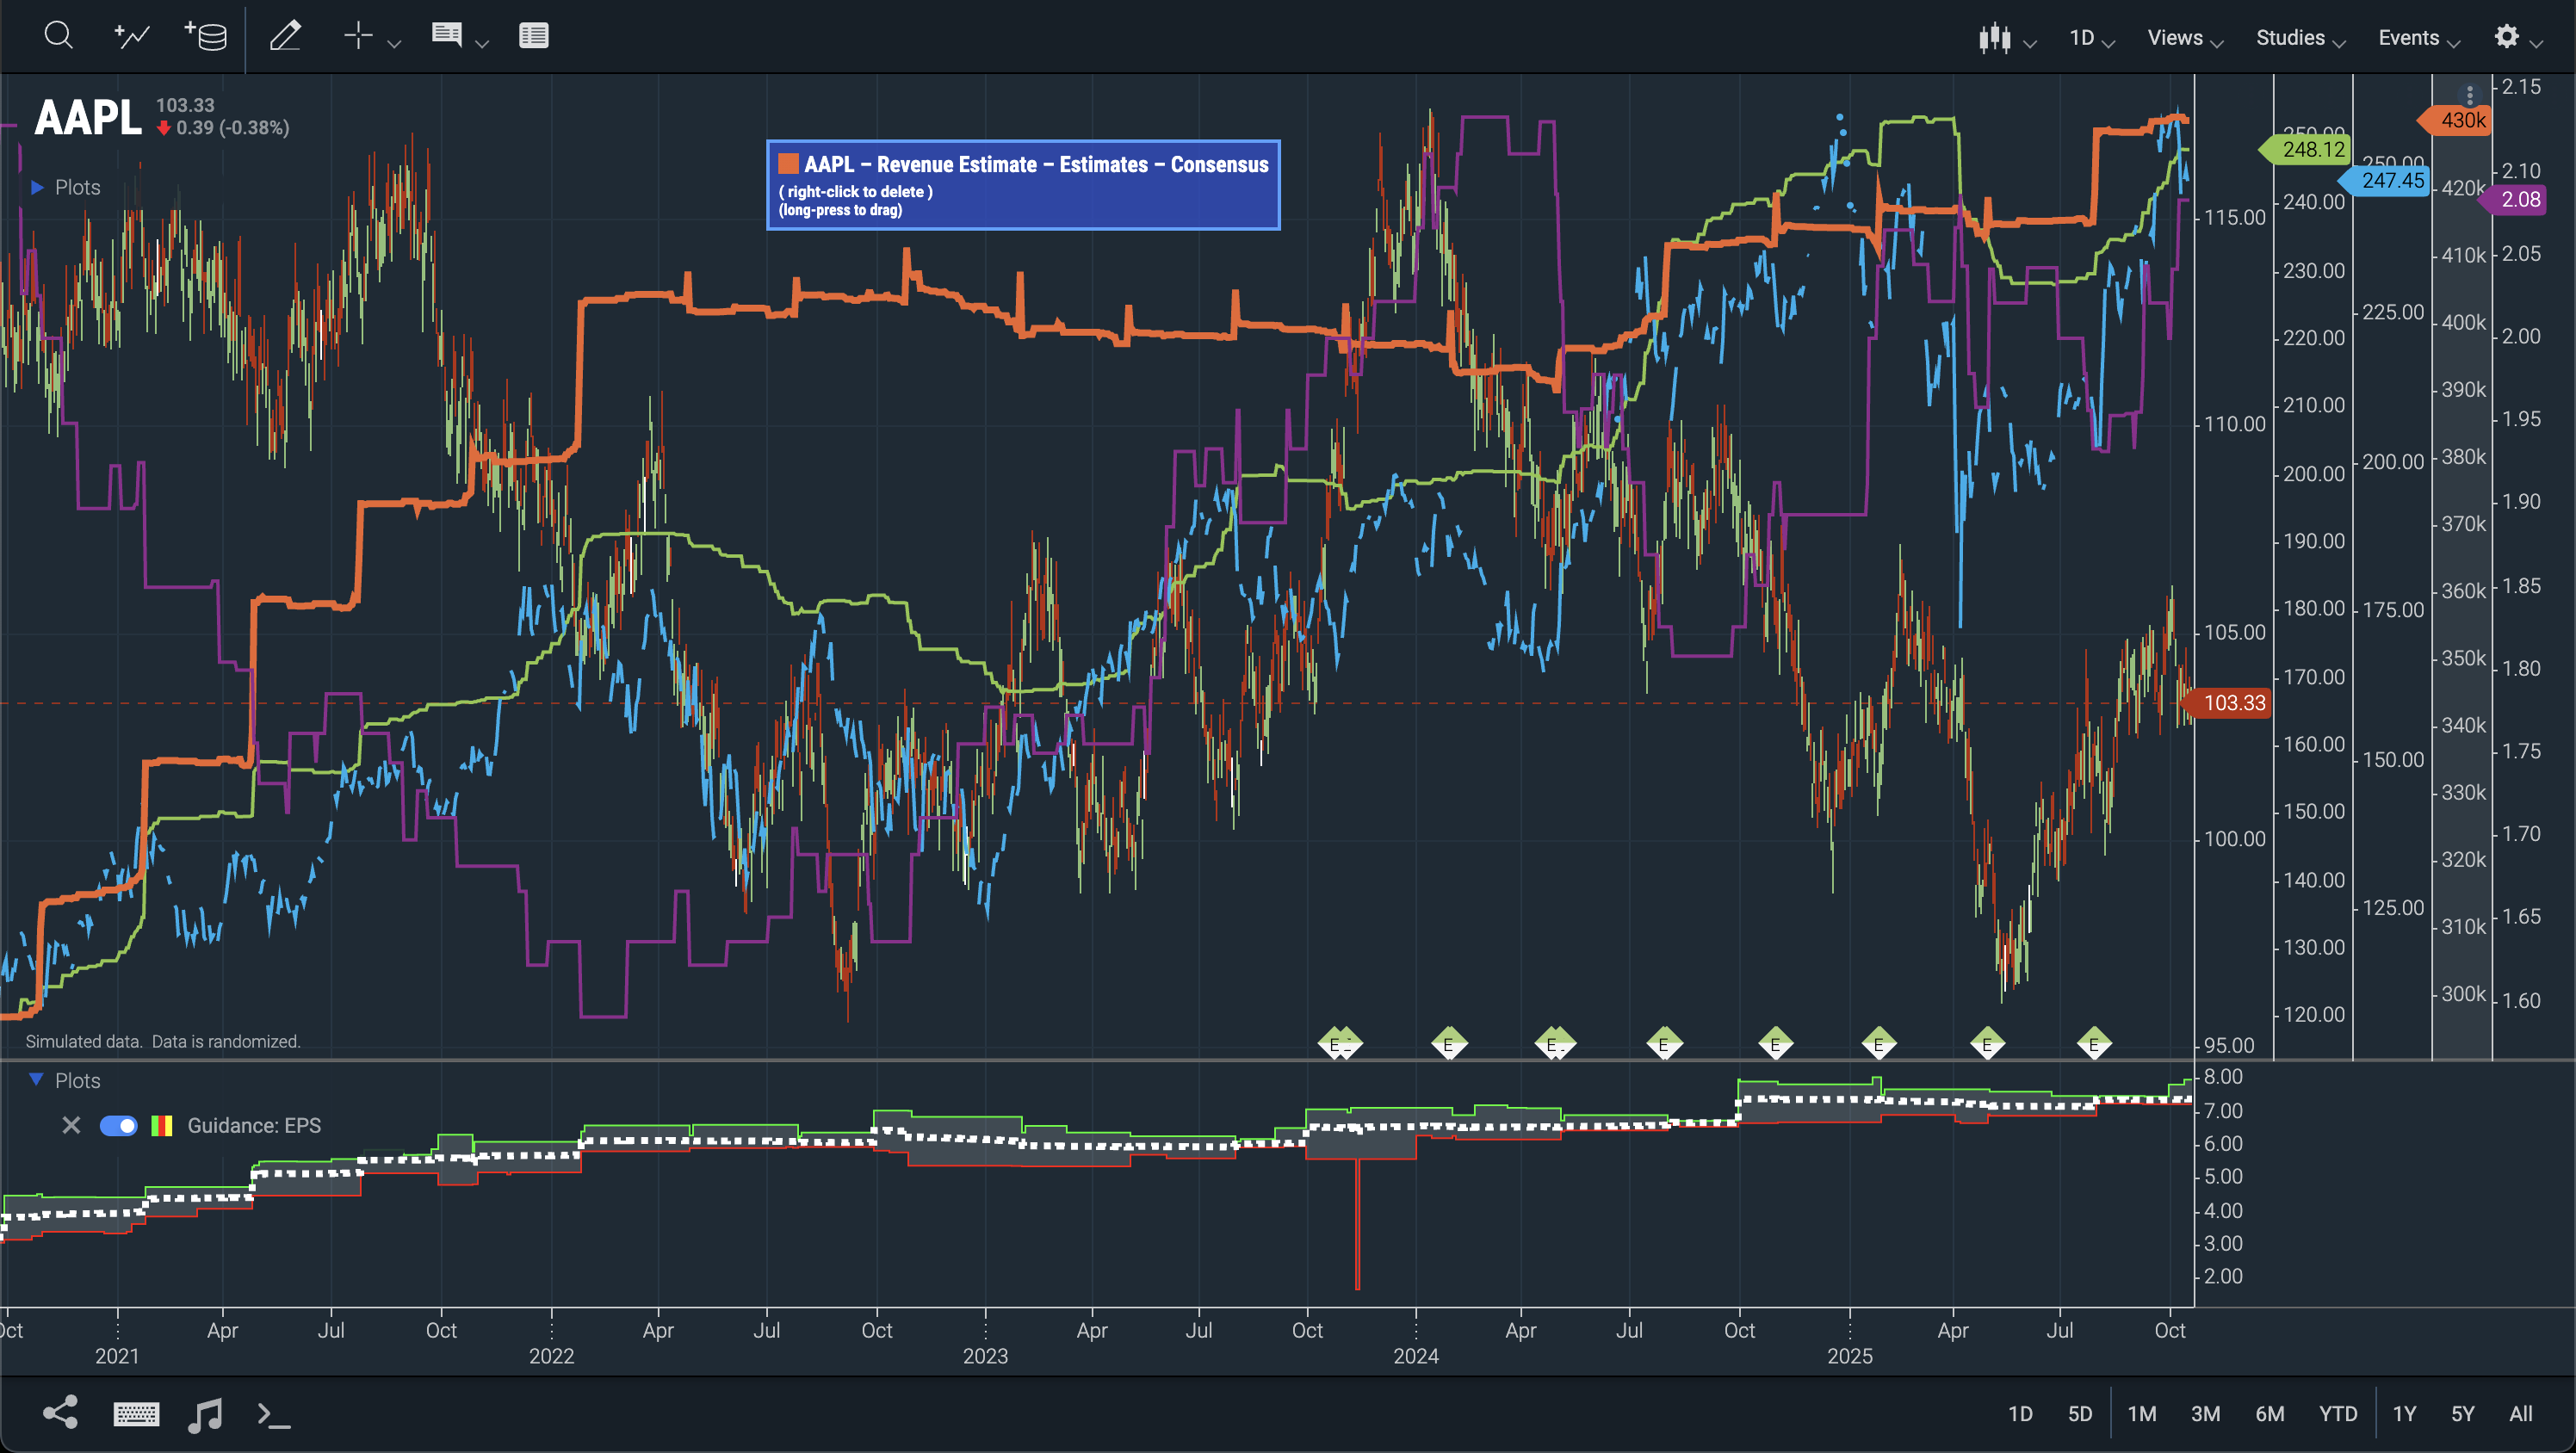 Figure. Reference Data Plugin.
This plugin is still under development, so stay tuned for updates and enhancements.
For further customization, refer to the Registering Datasets tutorial to integrate your own data sources.